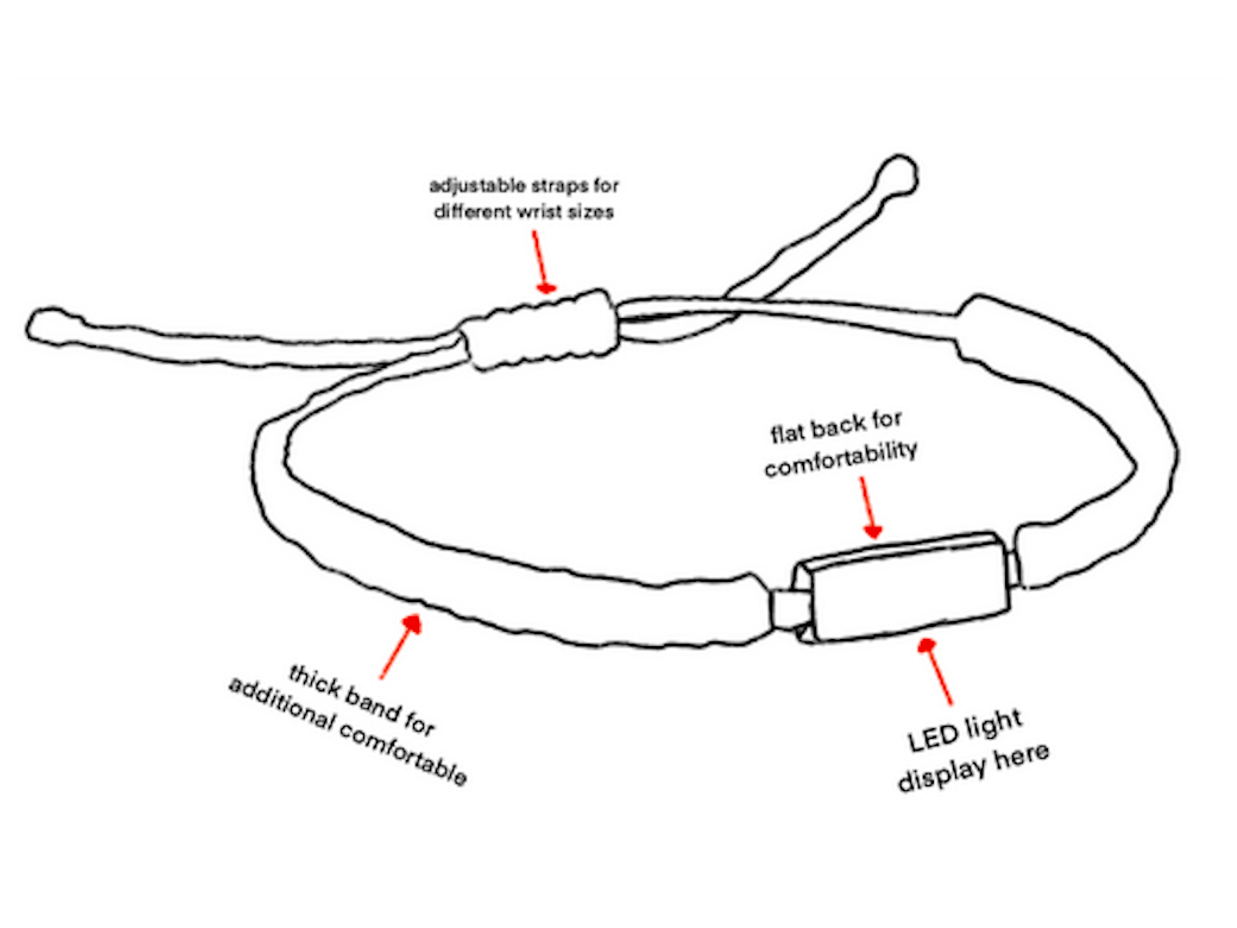
The product we created was the One Guard that can help people with physical or cognitive disabilities learn and use the keyboard. We wanted something that would be easy to use and help people use the keyboard. Users will be able to rest their hands on the keyboard without pressing any buttons. Blind users will be able to attach the guard to use any keyboard (including ones in public). Finally, the colour part of the guard will help teach people which keys do what (ex. red deletes text and green adds text). I think this product will help a lot of people and I can’t wait to see the progress in the future.
Description
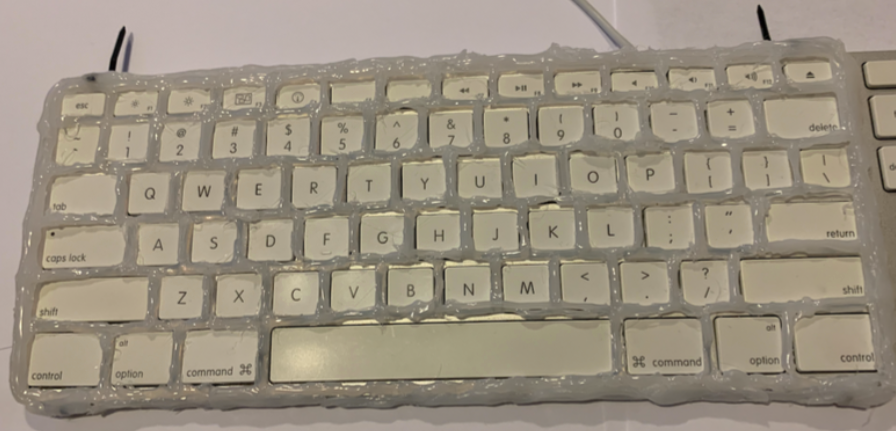
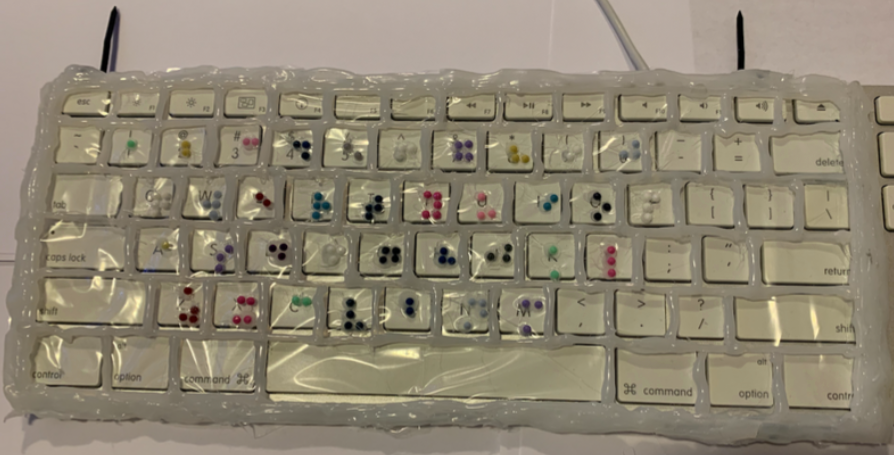
The One Guard is a way for people to easily use the keyboard. Whether you have a physical, cognitive, or no disability the one guard is meant to make your experience with the keyboard nice and easy. The product covers your keyboard to block your hands from pressing any key while resting your hands on it. If you have to press a key you can press the key directly. This avoids accidentally pressing the wrong key. In addition to this we added a guard with braille so people with visual impairments can use a keyboard like everyone else. It also is helpful for when someone visually impaired goes somewhere public to use a keyboard they can attach the guard to easily use any computer keyboard.
Design Process


After we came up with our ideas we had to figure out where to being. We first decided to do a test model of our prototype out of cardboard. After making this we realized that the cardboard was not the right material to use as it wasn’t accurate and flimsy. Once we decided cardboard wasn’t the right idea, I proposed the idea of hot glue which is the material we decided to go with. So, the base would be out of hot glue however we still needed to figure out how we were going to create the braille sections and how it would attach to the keyboard without falling off.
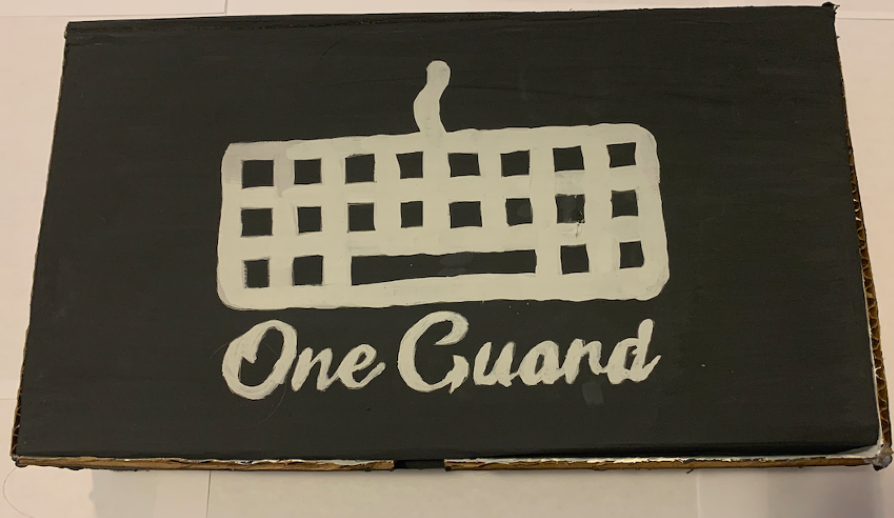
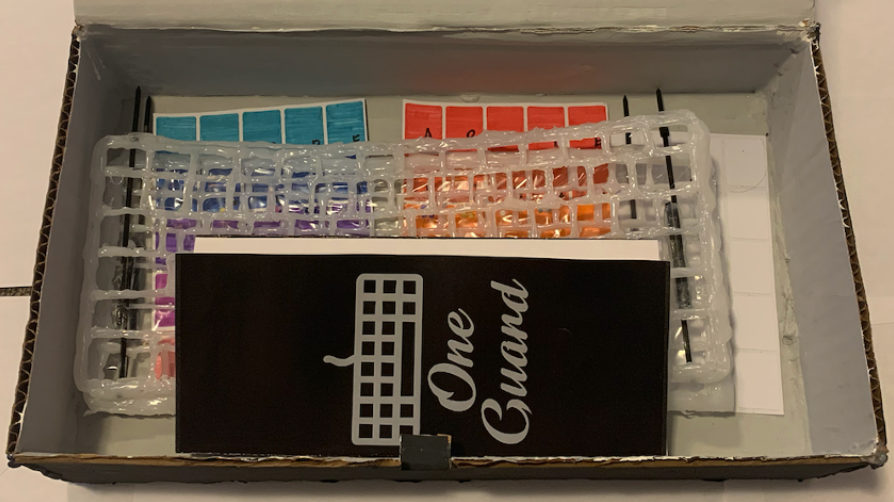
In the end we decided to use hot glue for the guard, zip ties to attach the guard to the keyboard, zip lock bags to help attach the braille, little gems for the braille, and finally sticklers to add colour to the keys. We created a impression of the keyboard which we could then trace with the hot glue to create the guard. On top of the two guards, we also created a box for everything to stay in. Inside the box it included the two guards, stickers, and an instruction manual. After everything was finished, we added it all into one box to keep everything organized in one place. Overall, the finished prototype was well put together and I can’t wait to see how this product develops in the future
Final Product
Conclusion
In the end we were all happy with what we created and proud of what we have accomplished. This project helped me see what it’s like to work in a group where we all bring our own skills to accomplish a common goal. If we were to continue to make the product for this idea, I would like to make it out of better materials. Making it out of better materials will help it be more accurate and easier to use. Rather than having to clip the zip ties it would be nice to just be able to rest the guard on the keyboard. Another thing that I would want to do is to expand the keyboards it supports. The one we made is for an apple keyboard but ideally it would have multiple different designs for different keyboards. Overall, this project was a fun and interactive way to learn about product design in UX.
